How to light an interview

Interview lighting is an important skill for those of us who create visually engaging and professional quality corporate videos. In this article we are going to have a look at the ways in which you can improve your lighting for interviews, and how you can use a particular space to produce the best results.
Choose a great location and angle

Start by finding a great location, a visually interesting camera angle with a great background. Lighting can create a great deal of dimension and atmosphere and ultimately a visually stunning interview, but if you select a dull angle or uninspiring background then you will have your work cut out for you in terms of creating a great shot.
Therefore you should choose an interesting background with inherent character, interesting shapes, colours or interesting natural light. A shot that has a large amount of distance behind the subject can also add depth to the shot, and increase the impact of your shot.
Lighting – Getting started
Have a look at the space, the existing light. Turn off the lights in the room and see which direction the natural window light is coming from, then make that the side which you place the key light. Its better to work with what is already happening in the room, and embrace it rather than fighting against it.
DISC is an acronym that can be helpful in thinking about lighting: (DIRECTION, INTENSITY, SOFTNESS, COLOUR)

Direction
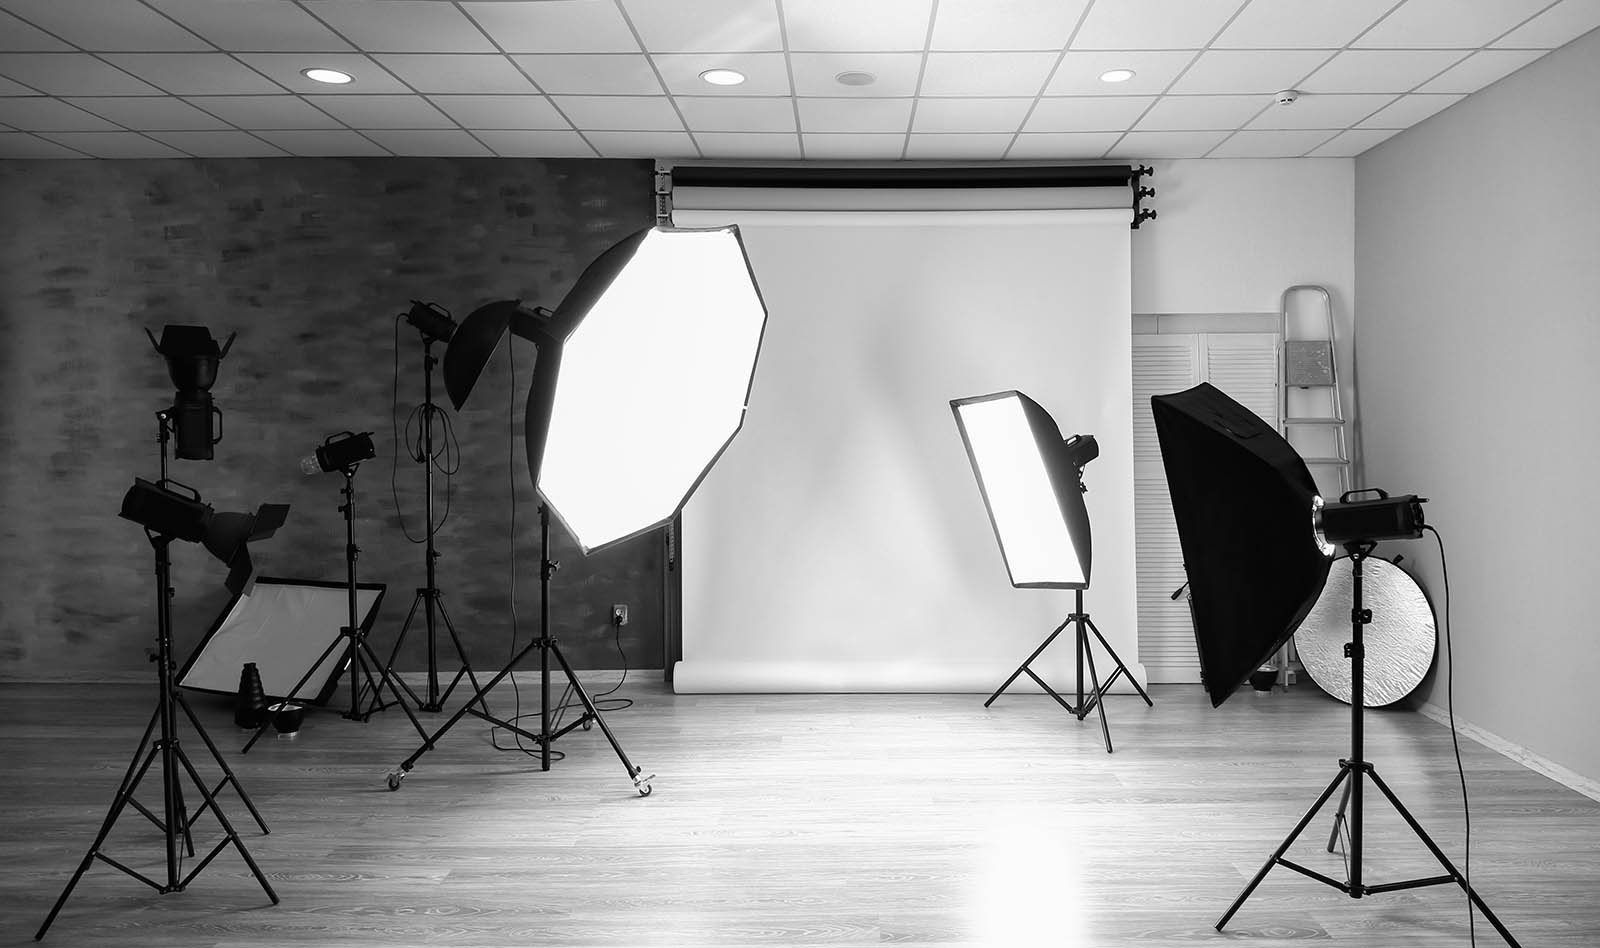
Starting with the main light or ‘key light’, position it 30-45 degrees to the right of the subject. In terms of height, the light should also be 30-45 degrees above the subject. By positioning the key light in this way, we have started to light the subject in a way that is flattering, interesting and pleasing to the eye.
Intensity
Fill light is used to balance out the key light in photography and videography by filling in the shadows created by the key light. The fill light is typically positioned opposite to the key light and is of lower intensity. It can be created using a second light or by bouncing the key light. The ratio of light between the key light and the fill light is subjective and depends on the style of the shoot. In some cases, no fill light is used for a more dramatic look. The background light should be balanced with the subject light to avoid over-exposure or under-exposure. A backlight, hair-light, or kicker light can also be used to separate the subject from the background or to add depth. At Camera Crews, we use a 150W dimmable Dedolight is used as a backlight.
Softness
Soft lighting is considered more flattering for subjects as it reduces harsh shadows and creates a more natural and subtle look. The larger the light source and the closer it is to the subject, the softer the light will be. Bounced light from a reflective surface, such as polystyrene or a silk, is also soft and pleasing. Light manufacturers offer softboxes and Kinoflos that produce soft, flattering light. At Dream Engine, Kinoflos are used as the key and fill lights for interviews due to their naturalistic light, quick setup, and cool operating temperature that makes subjects more comfortable. Kinoflos are also convenient for packing up as they don’t need to cool down first.
Colour
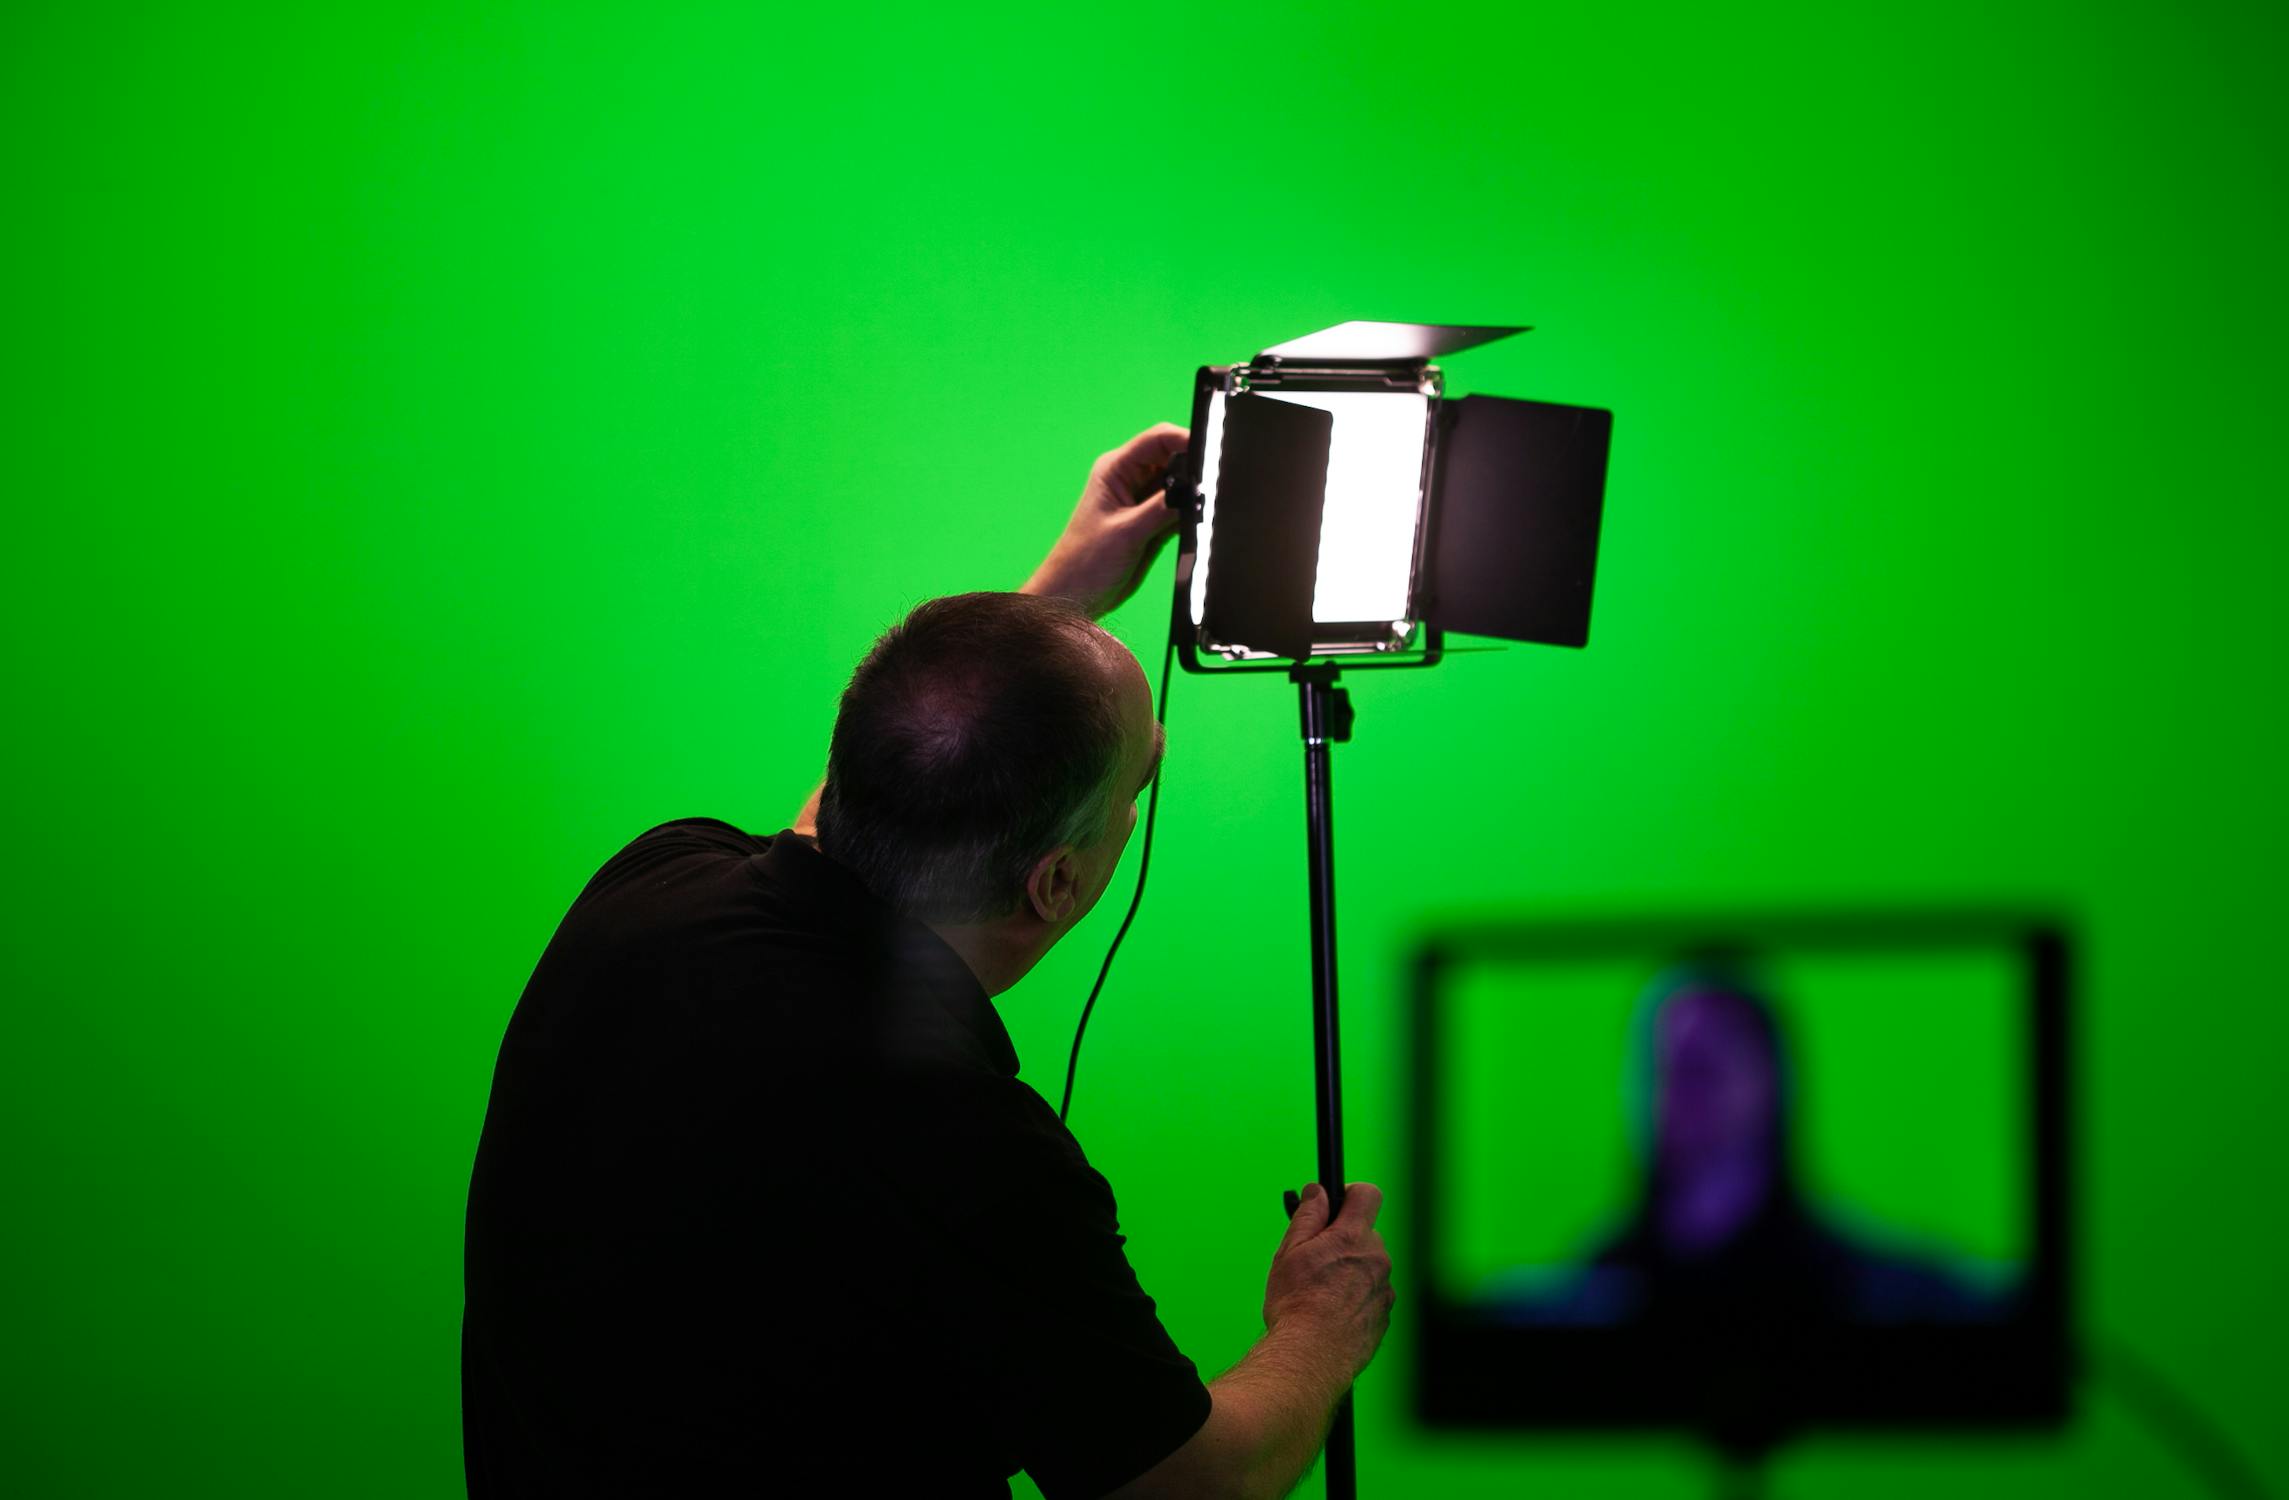
When lighting for interviews, it’s important to consider the desired color temperature. To create a unified color of light, it’s best to match the color temperatures of the lights with the existing light in the space. Unless you aim to create a dramatic color contrast, assess the existing light, whether it be natural or artificial (e.g. tungsten lights, fluorescents, sodium vapor), and either block it out or complement it with your own lights. Make sure to maintain color consistency by using gels or changing tubes and being mindful of the color temperatures.
Conclusion

By taking the time to light the interview properly, we can create a visually interesting shot and direct the audiences eye to the subject. In this way, our visuals can really enhance the story/program. To recap what we discussed in this article – choose a great background, place your key light and fill light roughly opposite one another, use soft light and use a back light. Now that the light is all set-up it’s time to think about how to feel like a natural on camera!