Time-lapse for Corporate Video

Time-lapse photography is the most effective way to show progress over time in a video form. It can show a flurry of activity at high speed, showing progress in a much more easily digestible way. You can compress hours, days or even months into seconds with a time-lapse, potentially showing construction, artistic works or manufacturing. Here are some tips for how to use time-lapse in your corporate video.
Sped up video v Time-lapse photography

There are many different options when it comes to shooting a time-lapse. One way is to shoot video for the duration of your time-lapse , and use a program like Adobe Premiere Pro or Final Cut to speed up the footage by hundreds or thousands of percent. This will result in a smooth time-lapse which can look great, but doesn’t have the more artistic look that you are capable of with a photo time-lapse. This method has it’s limitations as you will be limited more by the resolution, but can be more convenient to set up if you are already using a video camera.
The more involved but potentially higher quality option is to use a Digital SLR camera. There are three main advantages to shooting with a DSLR:
-
- Motion Blur
-
- Higher resolution
- RAW data
The higher resolution will come with the fact that most DSLRs these days take stills that are 20+ Megapixels, giving you the resolution to zoom in, slide across and reframe your time-3lapse, giving you so much room in the edit to manipulate and try different things.
As your sequence will be made up of these individual still frames, you can use the RAW capabilities of the SLR to have more room to edit your time-lapse and fix any minor issues you might experience with colour or changing light conditions.
With a DSLR you will also have more options with the style of the time-lapse. By opening the shutter for a bit longer you can add motion blur to your subjects. This will work especially well with moving human subjects as it will leave a trail behind them, giving a more stylised look.
Time-lapse equipment
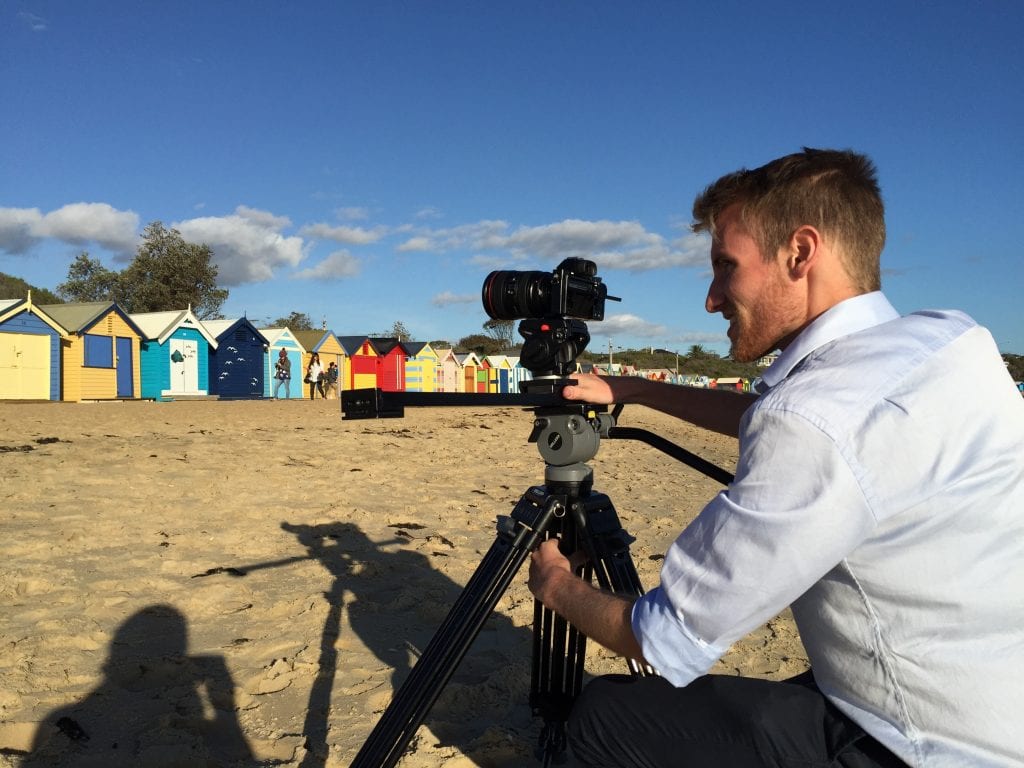
You’ll need basically three things to create a time-lapse:
-
- Camera
-
- Tripod
- Intervalometer
The first two are pretty self-explanatory, but if you have never used an intervalometer before it can be a new experience. An intervalometer is a relatively inexpensive device that releases the shutter of your camera at regular intervals of your choosing. This saves you the labour intensive process of pressing the shutter button manually hundreds of times in a row, so it is well worth the investment.
Post Production
Editing your time-lapse can be tricky and is a matter of finding what speed you want compress your images into. This can simply be a matter of trial and error to find out what looks the best for your project. You can perform some calculations as to how fast you would like the footage to play out. If you have taken 200 images, then when played at 25fps you will have eight seconds of footage. You can then double that sped if you would like to compress it into four seconds. You may need to speed up your sequence by thousands of percent depending on the timeframe of your shoot.
Using our Sony A7s, the process was quite simple. You can import all your JPG as a sequence and your timelapse will be recognisable when you play through. You can then alter the speed settings, and make any colour corrections to the whole clip, as opposed to doing it with the individual frames.
For more tips on getting the best footage for your video production, take a look at this.